Good Morning All,
On The Road and In Your Backyard is a weekday feature spotlighting reader submissions. From the exotic to the familiar, please share your part of the world, whether you’re traveling or just in your locality. Share some photos and a narrative, let us see through your pictures and words. We’re so lucky each and every day to see and appreciate the world around us!
Submissions from commenters are welcome at tools.balloon-juice.com
Have a wonderful day, and enjoy the pictures!
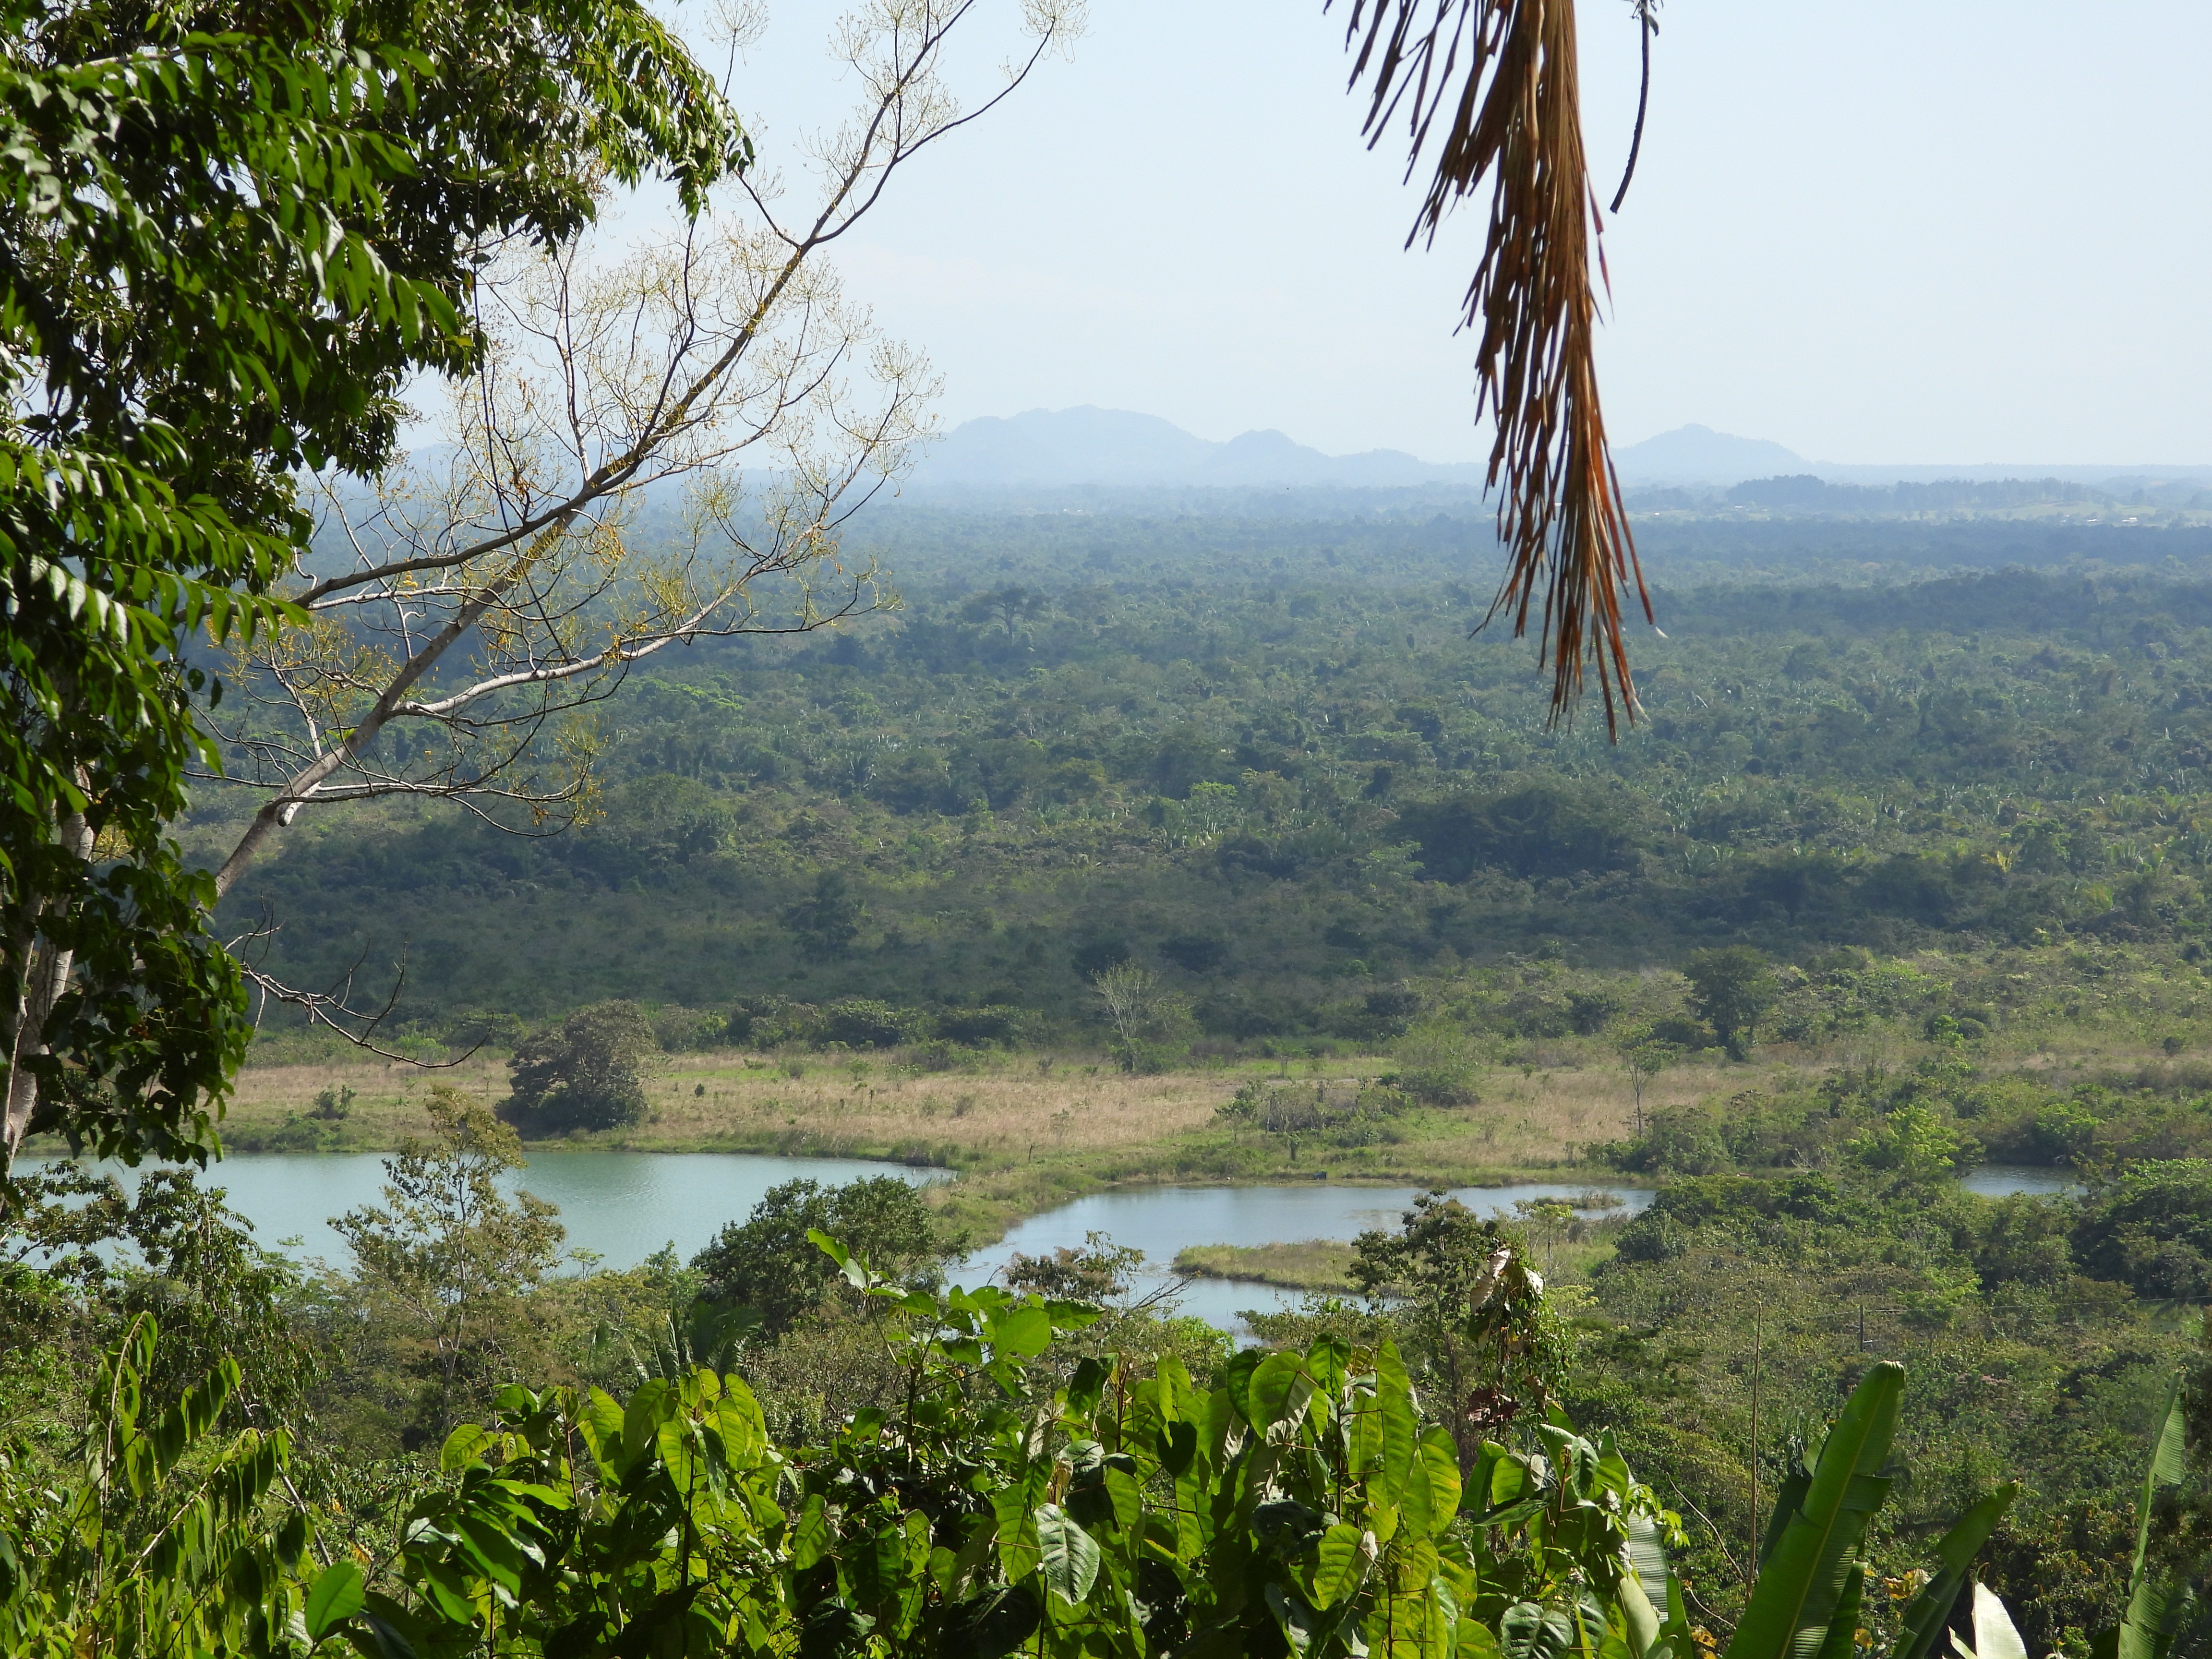
Today, some more wow from the sky.
Today, pictures from valued commenter ?BillinGlendaleCA.
Under the Hood
Last Saturday, on a morning thread, commenter Spanky mentioned in a comment about the controversy surrounding photographs of the Milky Way published in National Geographic by photographer Beth Moon. <a href=”https://petapixel.com/2019/05/10/scientific-errors-in-those-nat-geo-milky-way-photos/”>This piece in Petapixel</a> details some of the errors the author noticed in her published work. I read through the piece and the comments. They raised some points that I feel I should note here about the photos that I submit here. One commenter blasted the whole concept of photo editing, I’ll leave this video by Tony and Chelsea Northrup titled <a href=”https://www.youtube.com/watch?v=03NohoQKPII”>Is Photo Editing Cheating?”</a>(spoiler alert: it’s not). Most commenters blasted Ms. Moon for shoddy work and throwing her assistant under the bus in the process. The summery of the piece is that her work depicted the Milky Way in positions that were incompatible with the locations in which they were purported to have been shot. I have submitted two sets that were composites that were clearly identified as composites that could not exist in real life(mostly pictures of the Milky Way in places where it cannot be seen due to light pollution). Since the locations where you can photograph the Milky Way are by necessity dark, so attempting to capture a usable foreground is not possible, so shots will be a combination of more than one shot. So what follows is a couple of pictures with some illustrations of how they were produced.
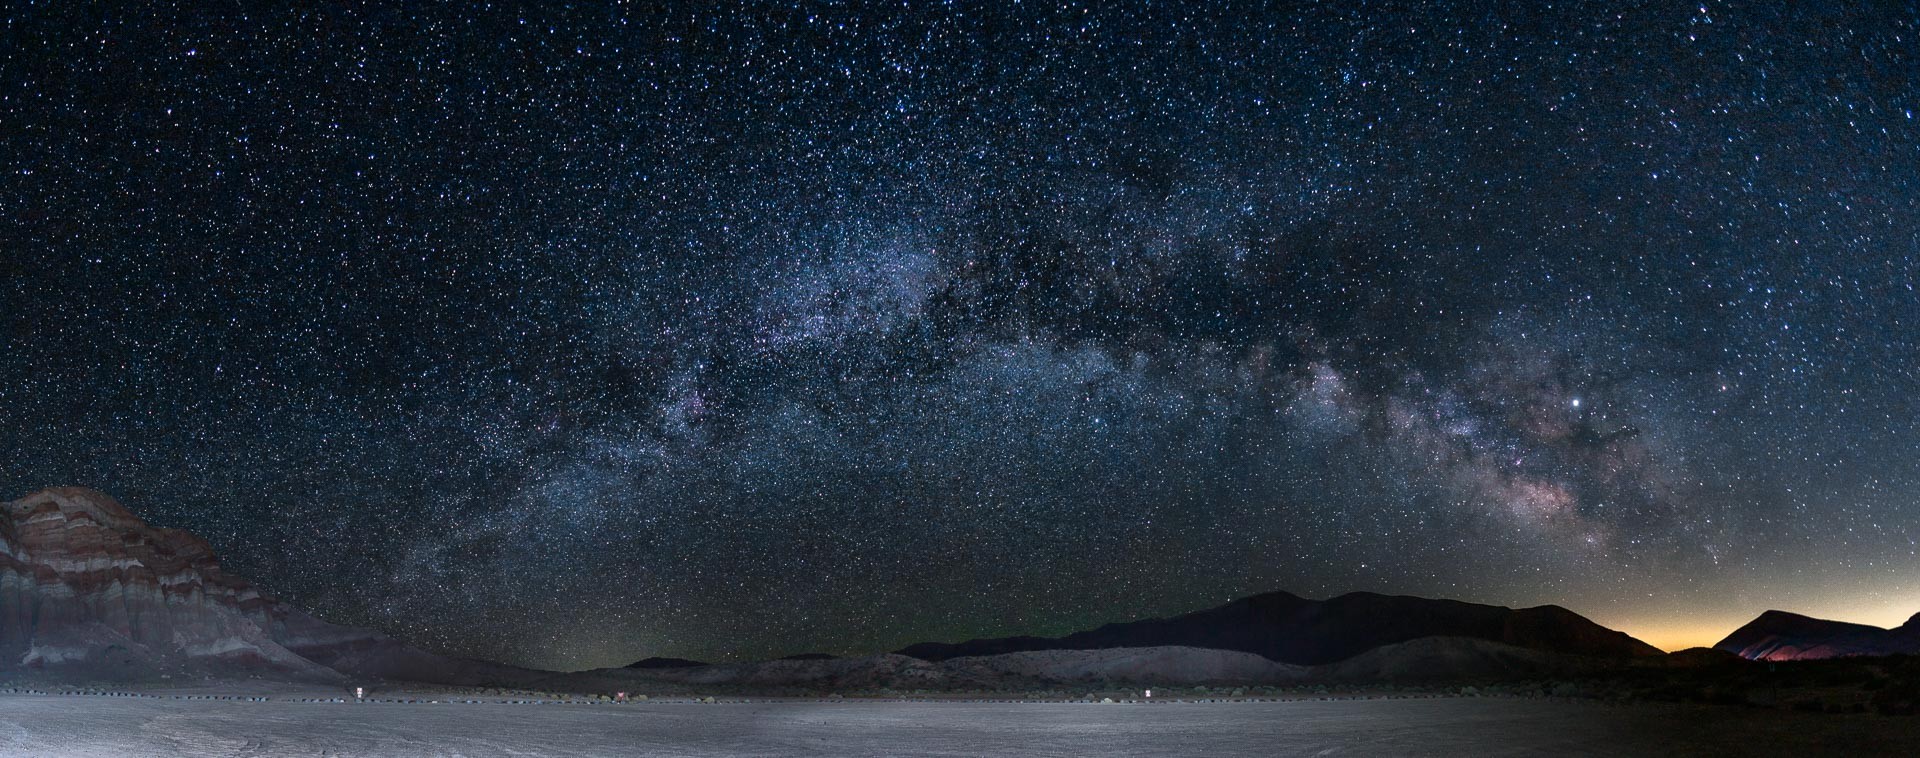
Taken on 2019-05-04 00:00:00
Red Rock State Park, Cantil, CA
May 3rd we were blessed with clear skies and no moon, so I packed up the Prius for the drive to the high desert. I had 3 goals for this trip: shoot star trails with the Red Cliffs as a foreground, shoot a time lapse of the rising Milky Way, and a panorama of the Milky Way that you see above. This panorama shows the arch of the Milky Way from the light dome from Lancaster in the south to the Red Cliff at Red Rock State Park in the north. In addition to the galactic center with the Lagoon nebula you can see the North American and Pelican nebula right of center.
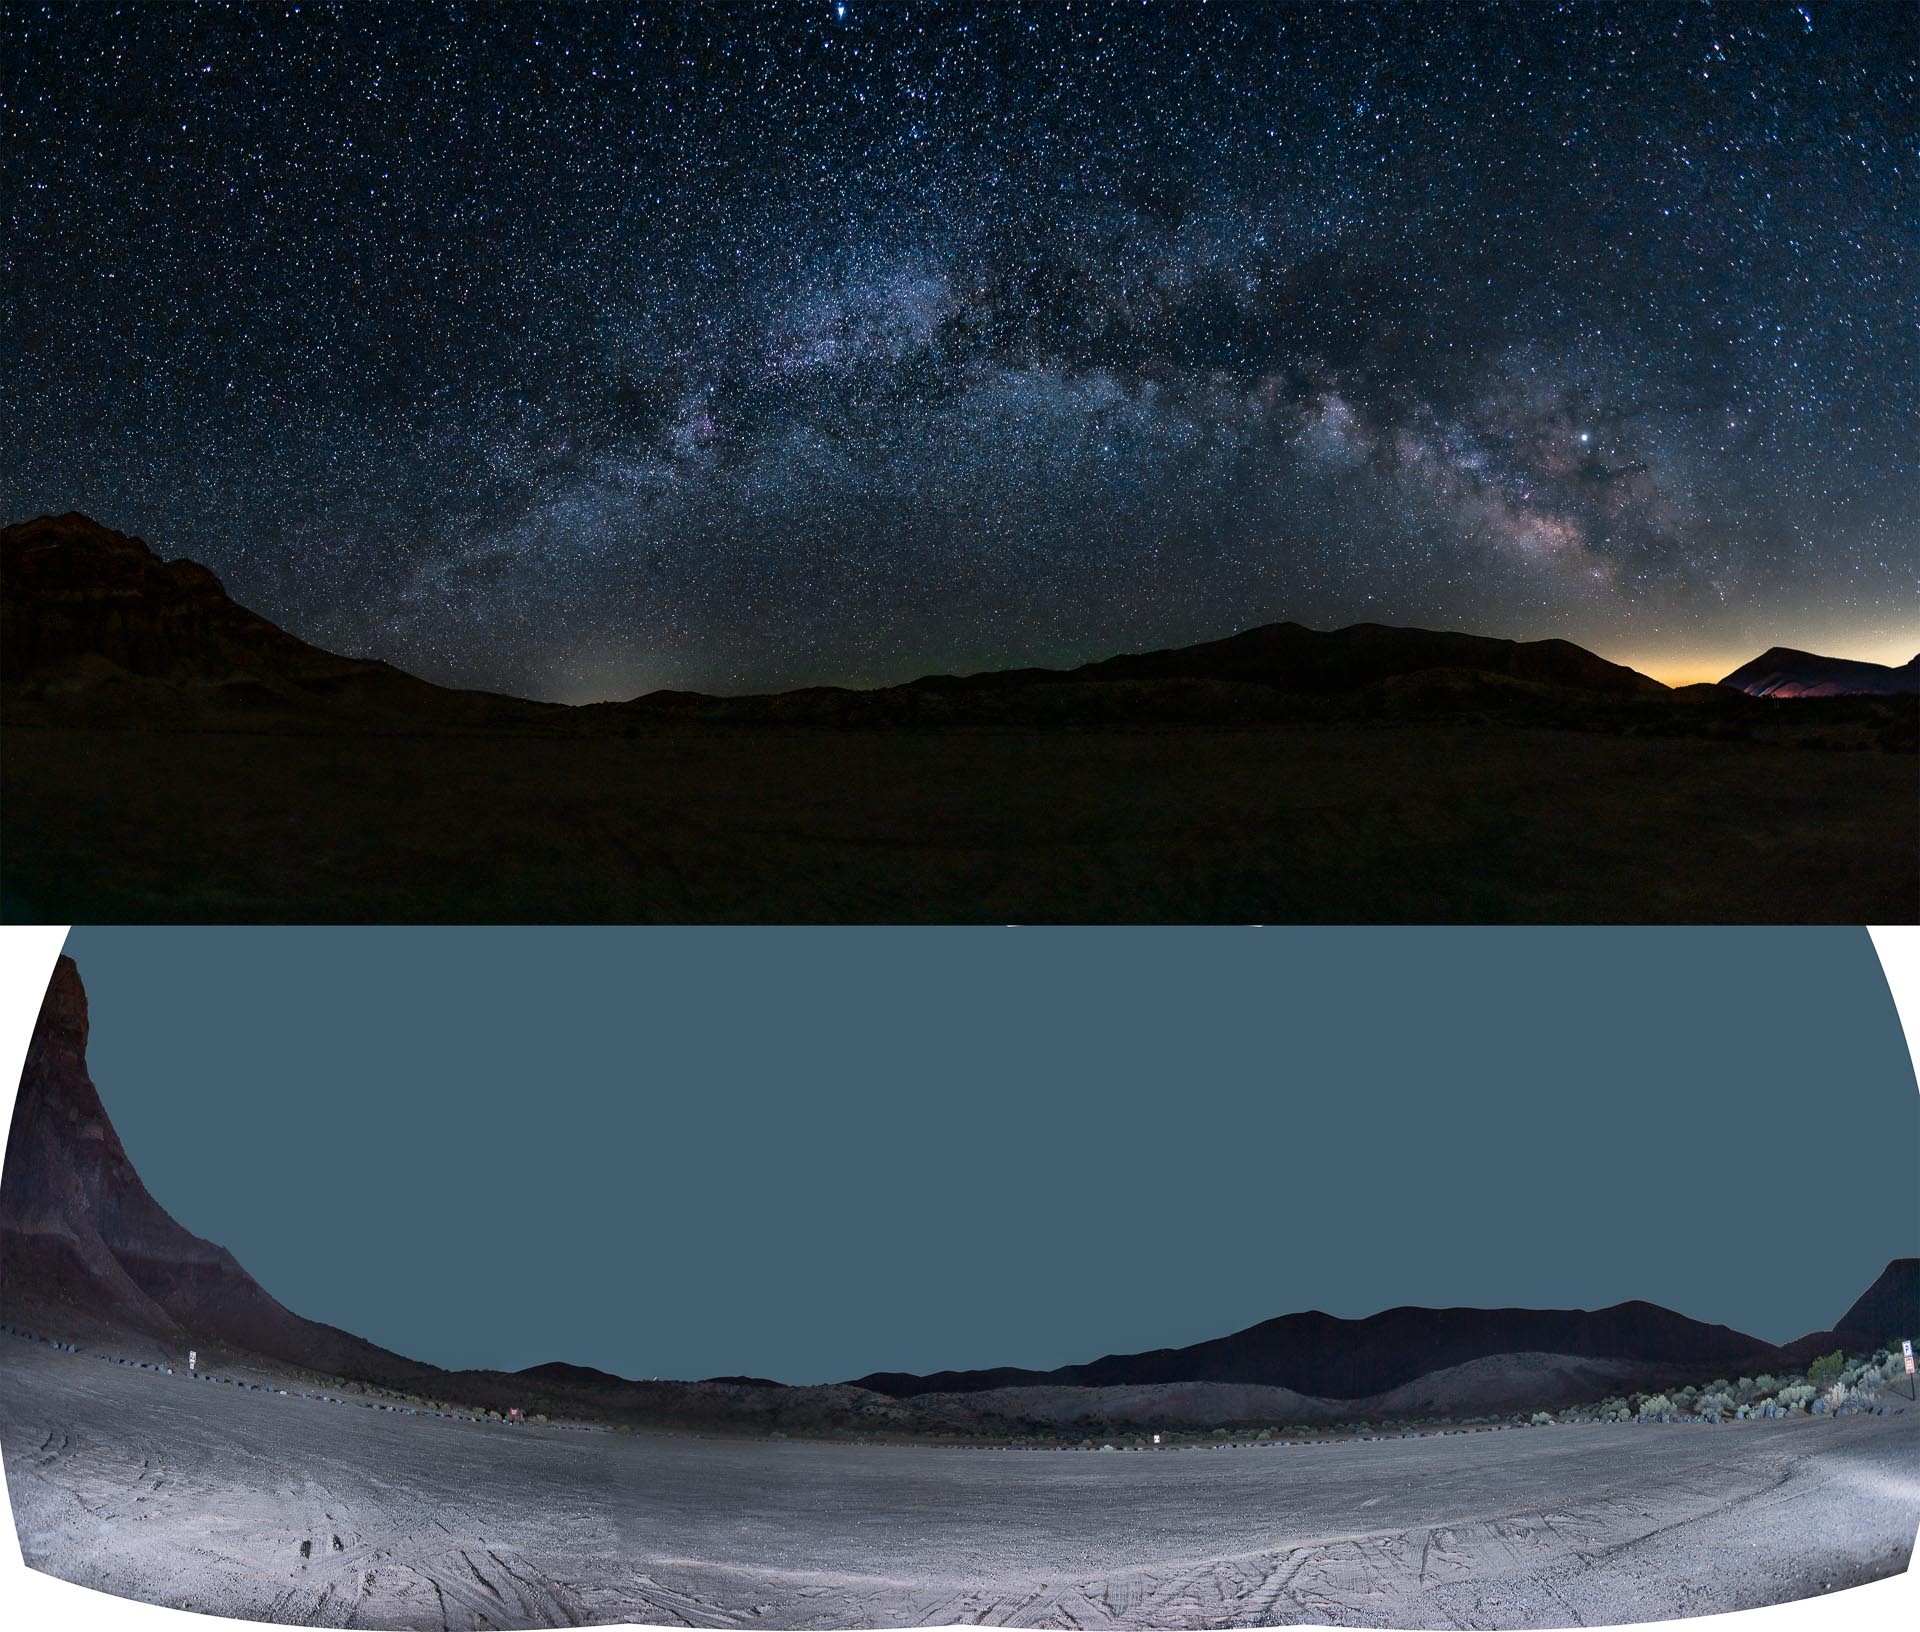
Taken on 2019-05-04 00:00:00
Red Rock State Park, Cantil, CA
The top picture is a stitched panorama of the Milky Way from 18 shots, each shot with a 15 second exposure, f/2.0, and ISO 1600 with a 12mm lens in portrait orientation. As you can see, the foreground is very dark. Immediately after shooting the 18 exposures on the top, I shot 4 exposures(landscape orientation) at 2 minutes, f/2.0 and ISO 100 with added light painting. Being that I wasn’t using a star tracker(we’ll see an example of that next) the sky exposure was limited due to the earth’s rotation so any detail in the foreground would either be very dark or very grainy. Shooting the second set of exposures at a lower ISO produces a cleaner foreground. Combining the two sets of images shot at different exposure levels is a composite, the key takeaway should be that they were shot at the same location at the same time.
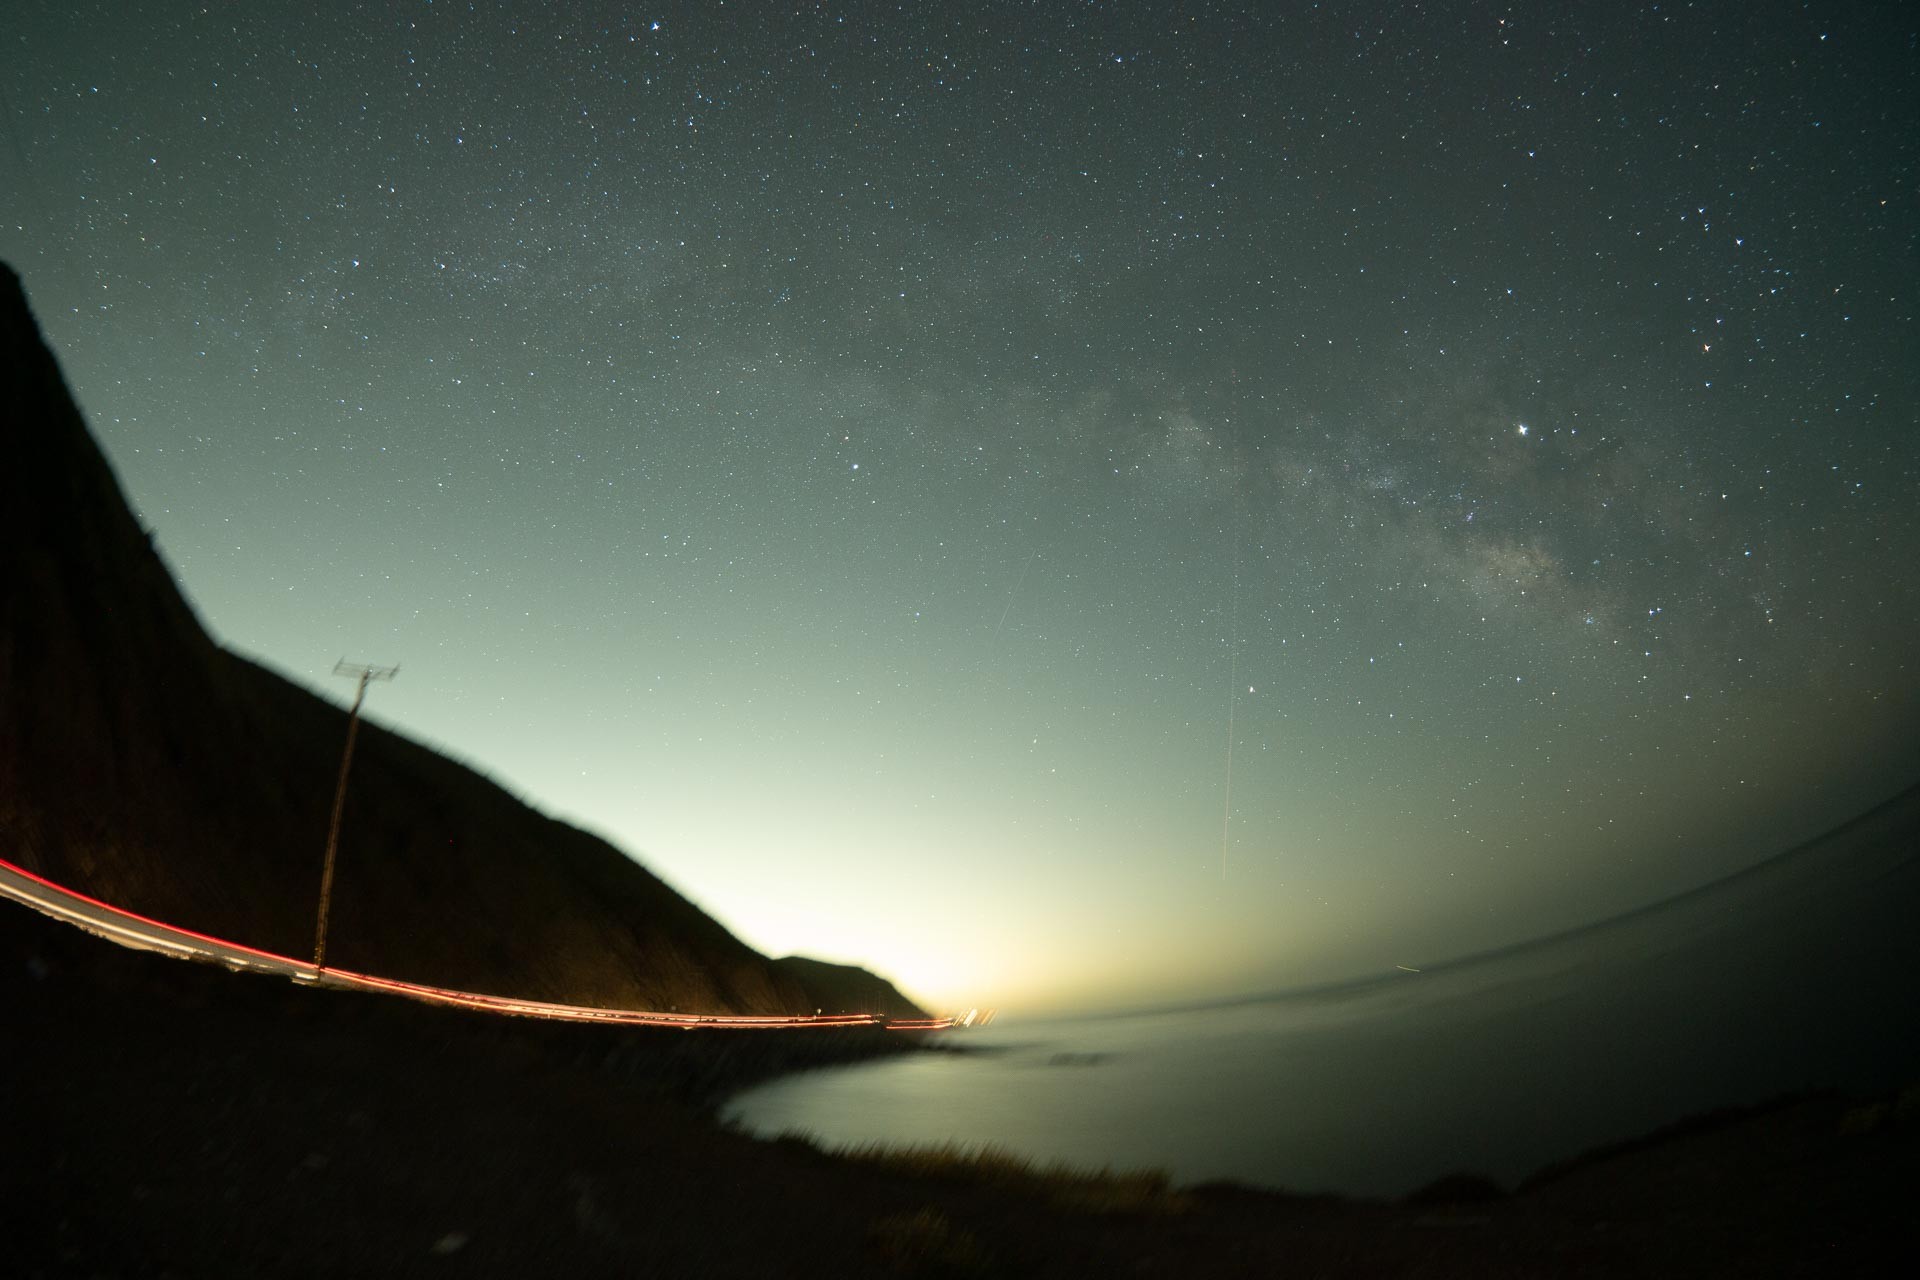
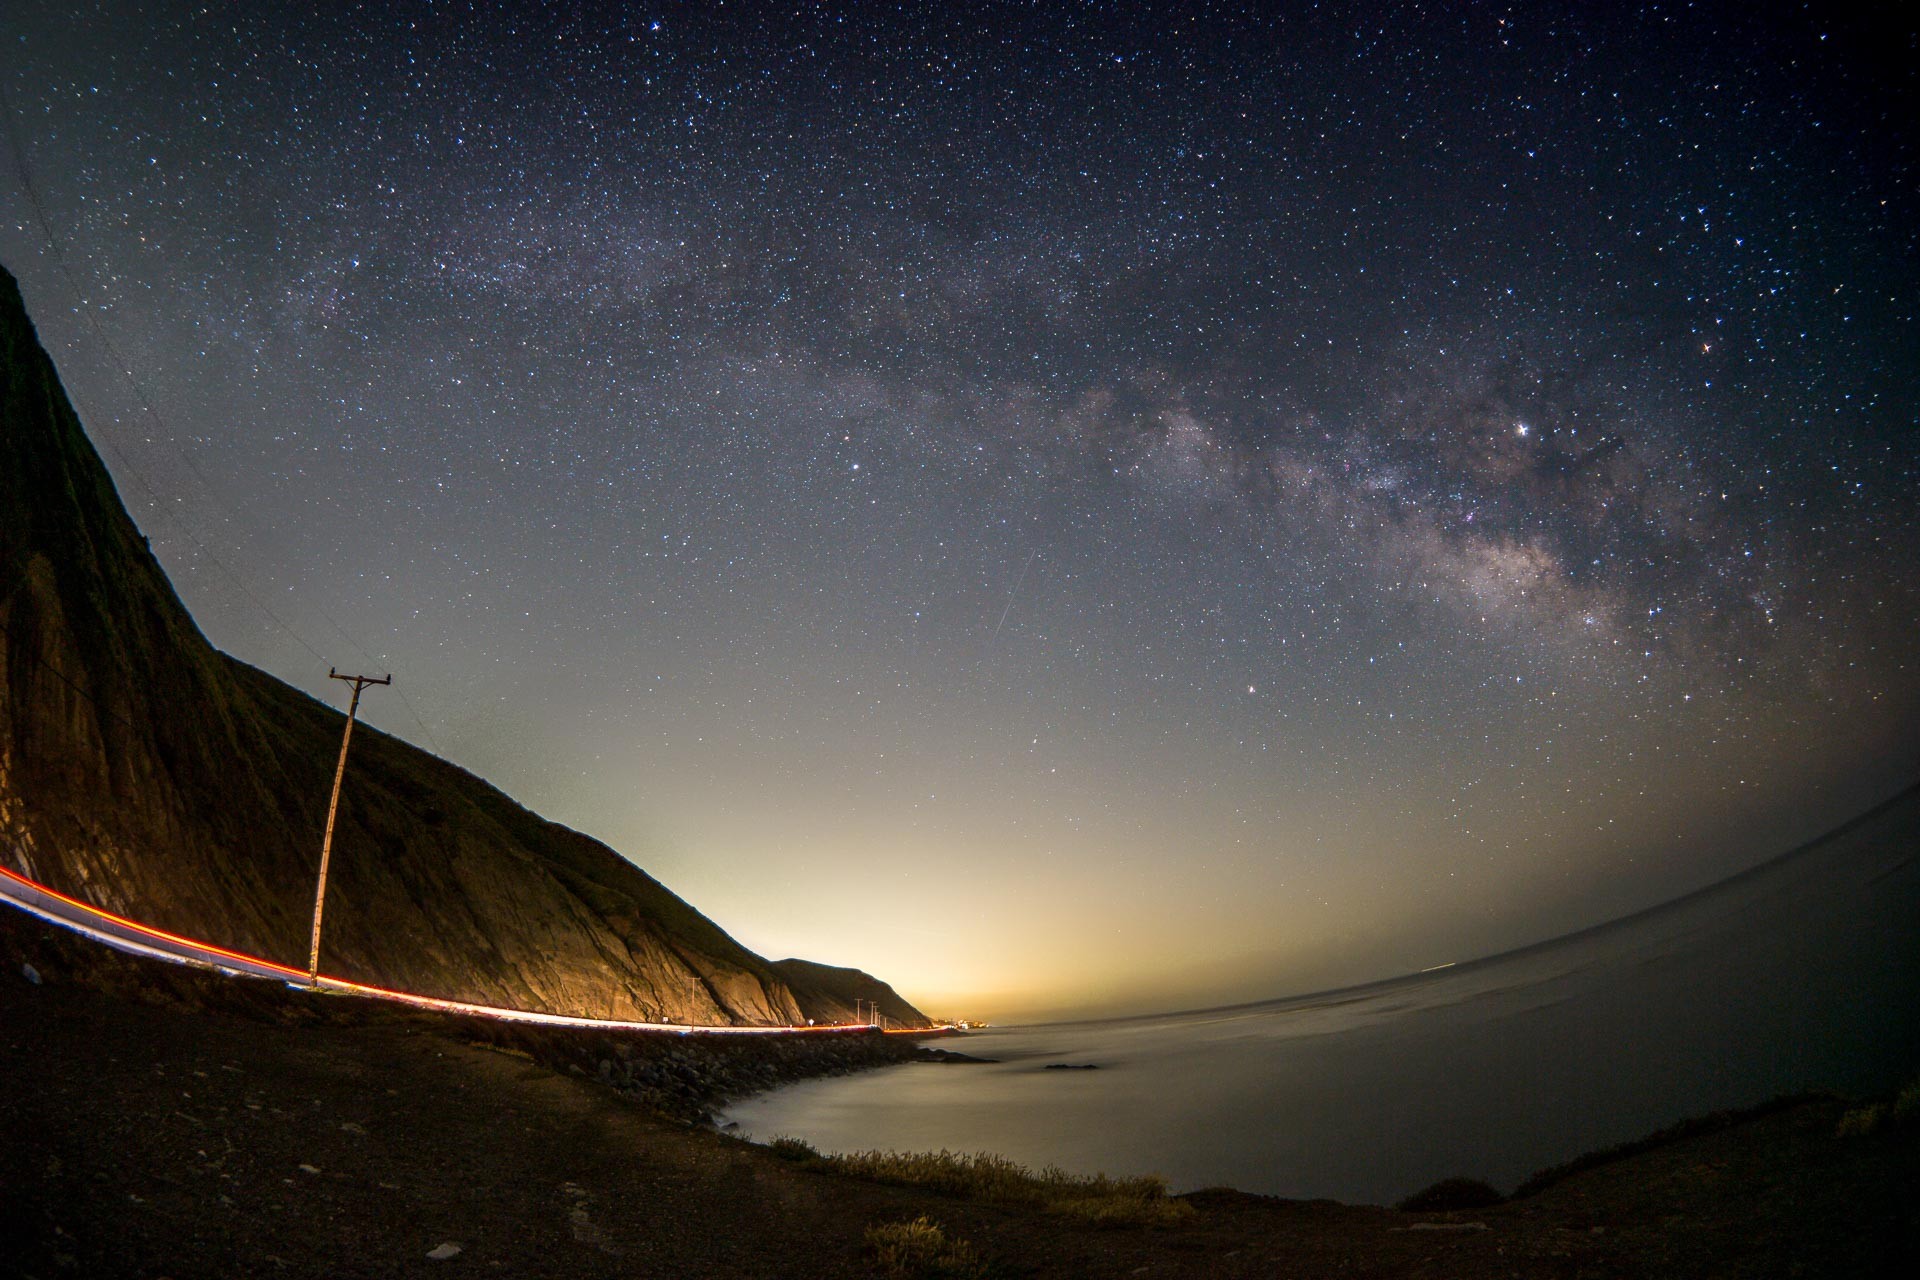
Taken on 2019-04-13 00:00:00
Twin Bush, Mugu State Park, California
This is the sky portion of the shot we saw last week, without any processing. The color is a bit off, the contrast low and the sky is a bit bright. I just wanted to share what RAW images look like coming out of the camera.
Taken on 2019-04-13 00:00:00
Twin Bush, Mugu State Park, California
Because using a sky tracker distorts the foreground(the camera is moving, the ground is not), you need to provide a foreground shot. I also take a transition shot, taken at a higher ISO to bridge the shot between the foreground and the sky. These three shots show the “standard shot” at a higher ISO, the foreground shot(shot with a low ISO and long exposure with the skytracker off) and the skytracker shot with a low ISO and long exposure. All shots were shot at the same location, consecutively and then blended together.
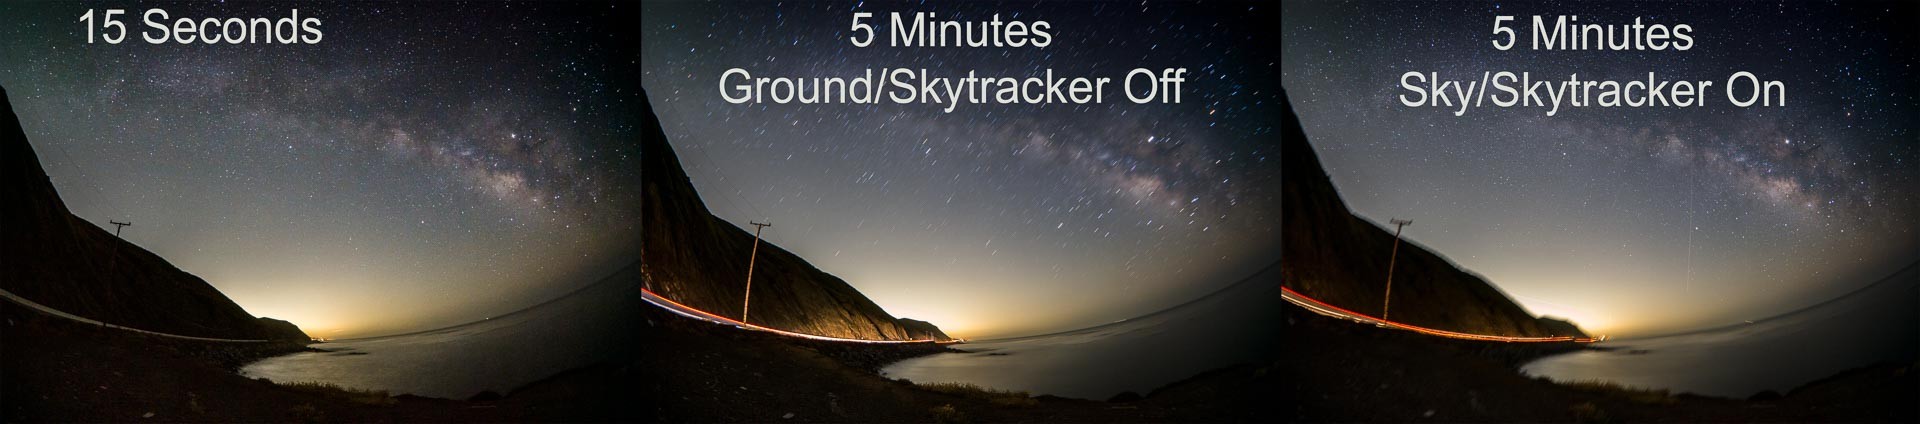
Taken on 2019-04-13 00:00:00
Twin Bush, Mugu State Park, California
Here, I’ve matched up the standard shot with the foreground and then add the sky shot in so we don’t see any of the distortion in the foreground caused by the skytracker. Any of the stars in the sky close to the distorted edge of the foreground in the sky shot is covered by the “standard shot” so we don’t have star trails from the long foreground shot.
Thank you so much ?BillinGlendaleCA, do send us more when you can.
Travel safely everybody, and do share some stories in the comments, even if you’re joining the conversation late. Many folks confide that they go back and read old threads, one reason these are available on the Quick Links menu.
One again, to submit pictures: Use the Form or Send an Email